Why Upload?
We are no longer accepting documents via email and ask that you upload the documents directly to your account. This change should help to improve overall processing time for Registry applications.
Uploading is very similar to attaching a file or document to an email. Much like that process you will select the file from your computer. There are a few additional steps for uploading to your Registry but we have made a User Guide to help you in this process.
User Guide Uploading Documentation:
How to Upload Documents to your Registry Account
Step 1: Go to www.mtecp.org and Log into your account.
Step 2: Choose the section of the application you need to upload to.
Choose the tab that corresponds with the documentation needing to be uploaded. (For example: Education Tab for high school diploma)
Tabs will look like this:

Step 3: Click file icon next to desired upload category (For example: First Aid/CPR) Hover your mouse over FILE icon  (this will be located to the left or right of the information for the category)
->this action will Provide Documentation Tab with EDIT option in the top right
Step 4: Click Edit
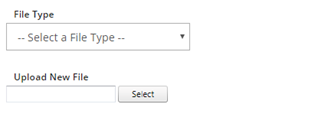
Step 5: Click and Select
Click Select or drag and drop file in upload new file (Select file from wherever it is saved on your computer)
Step 6: Save
Click Save & Close
->Your file is now uploaded 
The red file boxes will turn green once you have uploaded documents. Please double check that you have successfully uploaded all required documentation.
**Please note** You will only see the Edit button and have the option to upload documentation if that item has not already been Verified by the Registry. If you have not entered any information for the documents you need to upload, you will not have a place to upload to.